WordPress
Installing Airbrake in a WordPress application

The Airbrake wordpress plugin collects and aggregates errors created by WordPress and it’s plugins. Airbrake collects, notifies on, and aggregates your errors, giving developers the ability understand and fix issues fast.
Configuring the plugin with your project API key from Airbrake is required in order to report your errors to Airbrake. View more details about the Airbrake wordpress plugin.
Automatic Installation
Step 1: Login to your wp-admin control panel
Step 2: Go to Plugins -> Add New
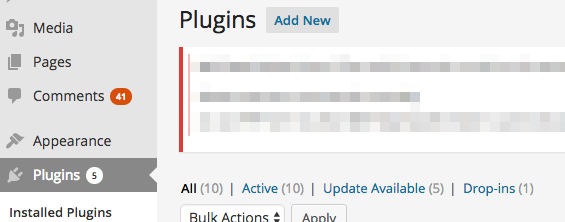
Step 3: Search for the Airbrake plugin
Search for ‘Airbrake’ to find and install the Airbrake wordpress plugin.

Step 4: Configure FTP/FTPS or Modify wp-config.php
Step 4a: FTP/FTPS
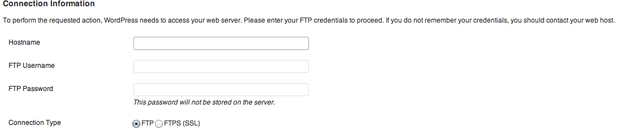
Step 4b: Automatic
add the following to your wp-config.php file:
define ('FS_METHOD', 'direct');
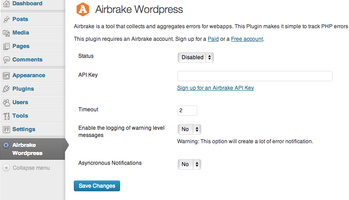
Step 5: Configure the plugin
You should now have the Airbrake plugin on your left menu bar. Add your Airbrake project API key, set the status to ‘Enabled’. Your wordpress application will now report exceptions to Airbrake.
Manual Installation
Step 1: Download and extract the Airbrake plugin
Download the plugin and extract it to your wordpress /wp-content/plugins/ folder.
Step 2: Activate
After you have completed the download and extraction, select activate for Airbrake in the the ‘Installed Plugins’ section section.

Step 5: Configure the plugin
You should now have the Airbrake plugin on your left menu bar. Add your Airbrake project API key, set the status to ‘Enabled’. Your wordpress application will now report exceptions to Airbrake.